
- Last Updated
How to test builds on a local PC
This guide explains how to run and test your game build locally without uploading it to STOVE Studio when integrating the PC SDK provided by the STOVE Developer Guide.
Builds executed in Developer Mode will only work with accounts registered as members of the studio project. If you attempt to run the game build without being registered, a PC SDK initialization error may persist.
Caution:
To perform build testing, the executable must be run with the option “Run as Administrator” enabled for the PC Client to recognize it.
Overview
Before testing PC SDK integration, ensure that your project has been registered in advance on STOVE Studio. Once the project is registered, a Game ID is generated, and the PC client communicates with the STOVE PC SDK using this ID.
The following instructions assume that your game build and PC SDK have been successfully integrated and provide convenient methods for local PC build testing.
Build test methods vary by PC Client version. If the guide’s instructions don’t work correctly, ensure you verify your client version information.
PC Client
Pre-requisites
Instructions for preparation before performing build tests.
1. Sign Up and Register a Project in STOVE Studio
- Create a project and product using an account registered with STOVE Studio.
Refer to the PC SDK 3 Store Developer Integration Guide.
- After creating the product, go to “Product Data Management - Build Management.”
- Under the
Build Managementmenu, you can view the “Game ID” and “Application Key” from theProduct Keyat the top-right, which are required for PC SDK integration.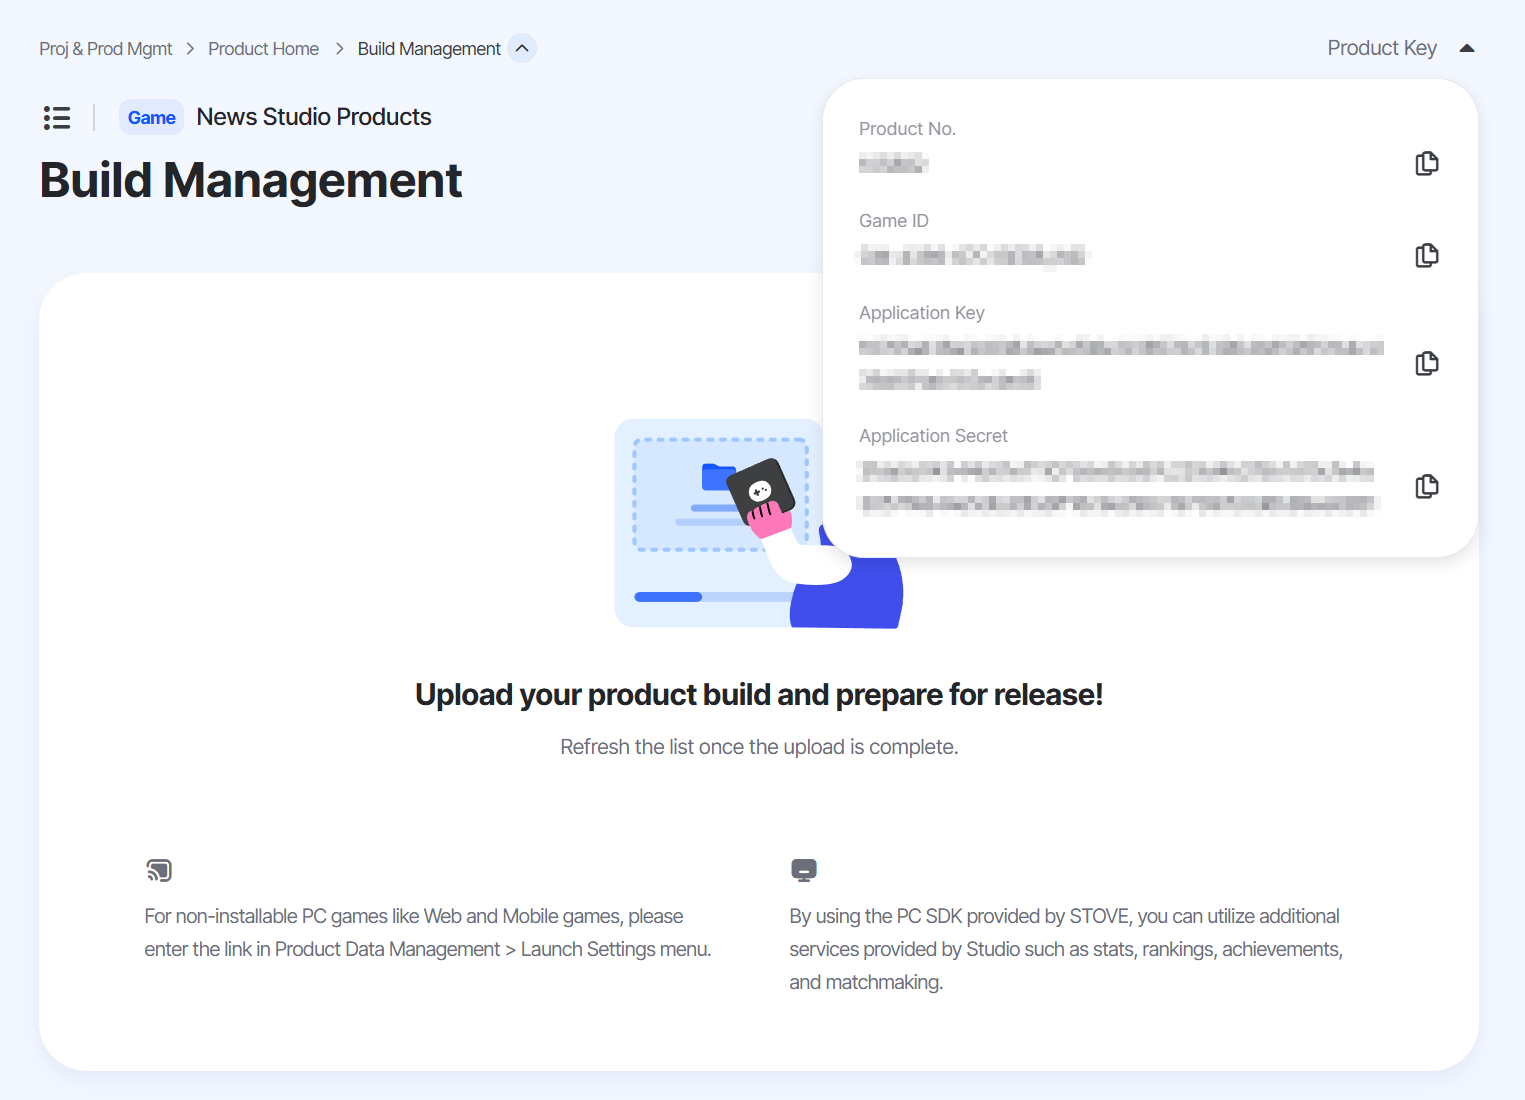
2. Complete PC SDK Integration with Game Build
- The game build must have the PC SDK integrated, including the accurate product key (Game ID, Application Key) provided by STOVE Studio.
Build tests will fail without correctly entering the
Product Key.
3. Download PC Client
- Download and install the PC Client via the STOVE store’s top menu (GNB).
Activating Developer Mode
Activating Developer Mode allows the PC Client to recognize game builds (integrated with PC SDK) running on your local PC.
1. Create Developer Mode Configuration File
- To activate Developer Mode in the PC Client, create a configuration file named
policyconfig.json. The PC client will fail to recognize the configuration file if the file name is incorrect. - The path to create
policyconfig.jsoncan be found as follows:
(1) PressWindows Key + 'R'to open the Run dialog.
(2) Enter%AppData%in the Run dialog and press Enter to quickly navigate to the AppData folder under your account.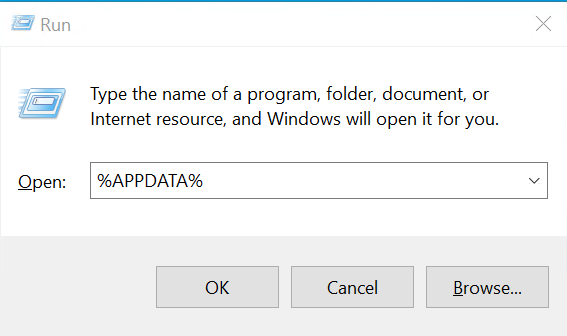
(3) Navigate to\Local\STOVE\Config\under AppData and create thepolicyconfig.jsonfile here.
Path: ...\AppData\Local\STOVE\Config\PolicyConfig.json
2. Enter Configuration Information
The final step to activate Developer Mode is to fill in the configuration as shown below. Multiple game IDs registered with Studio can be entered in the dev_game_list. Game builds matching the entered Game IDs can communicate with the PC Client in Developer Mode, enabling local build testing.
Enter the same Game IDs you wish to test into dev_game_exhibit_list as entered into dev_game_list.
If DLC is included, enter the DLC Game IDs into the dlc_list field as shown below.
PolicyConfig.json
{
    "stove_launcher_policy_config":
    {
        "dev_game_list": [ "GameID", "GameID", .... ],
        "dev_game_exhibit_list":
        [
            {
                "game_id": "GameID"
            },
            {
                "game_id": "GameID_with_DLC",
                "is_studio" : true,
                "dlc_list" : "dlc_gameid_1, dlc_gameid_2, dlc_gameid_3"
            }
        ]
    }
}
When including DLC, you must set the
is_studiooption to true for the PC client to recognize the DLC.
If Developer Mode isn’t activating in the PC Client, verify the location of the
policyconfig.jsonfile and ensure the Game IDs match exactly with those registered in STOVE Studio.
Performing the Build Test
After completing the activation of Developer Mode described earlier, the difficult part is complete. With the PC Client running, simply execute the game build integrated with PC SDK to perform build tests.
You can conveniently perform build tests by running the executable directly or by debugging through development tools (Visual Studio, Unity, Unreal).
Test purchases are not supported with the above method for game builds integrated with the IAP SDK. To perform test payments, upload your build to Studio and use the Studio Test menu on the PC Client.
If SDK initialization failures occur during build tests, ensure the executable or development tools have been selected to run with Administrator privileges.
Contact Us
If you have any questions, please contact us on Discord or by email at store.support@smilegate.com.